
Leave Your Message

7 Tips for Buying a Wall Hanging Toilet

Choosing a Wall Hanging Toilet is not only a style decision. It affects installation, maintenance, water use, and daily comfort. The U.S. Environmental Protection Agency reports that toilets account for nearly 30% of indoor household water use. Therefore, selecting an efficient model can influence long-term utility costs. EPA WaterSense criteria also provide a useful benchmark for comparing certified fixtures.

Recent NKBA bathroom design reports highlight continued interest in clean lines, easier cleaning, and aging-friendly features. Houzz bathroom research shows that homeowners increasingly invest in durable fixtures during renovations. These trends make wall-mounted toilets attractive, especially in compact bathrooms. The open floor beneath the bowl makes mopping easier. The concealed tank can also create a calmer visual appearance.

Plumbing expert Richard Trethewey has repeatedly emphasized a practical principle: “You have to think about what’s behind the wall.” That warning matters. A beautiful bowl cannot compensate for poor carrier support, difficult access, or an unsuitable wall structure. Check the frame rating. Confirm service-panel access. Measure the finished seat height.

Small details matter.

This guide, “7 Tips for Buying a Wall Hanging Toilet,” examines flushing performance, carrier systems, water efficiency, noise, seat height, installation conditions, and future repairs. Some recommendations may not fit every bathroom. That is worth admitting. Local plumbing layouts, wall thickness, and user mobility can change the best choice. A careful buyer should compare manufacturer specifications, professional installation advice, and independent certification before purchasing.
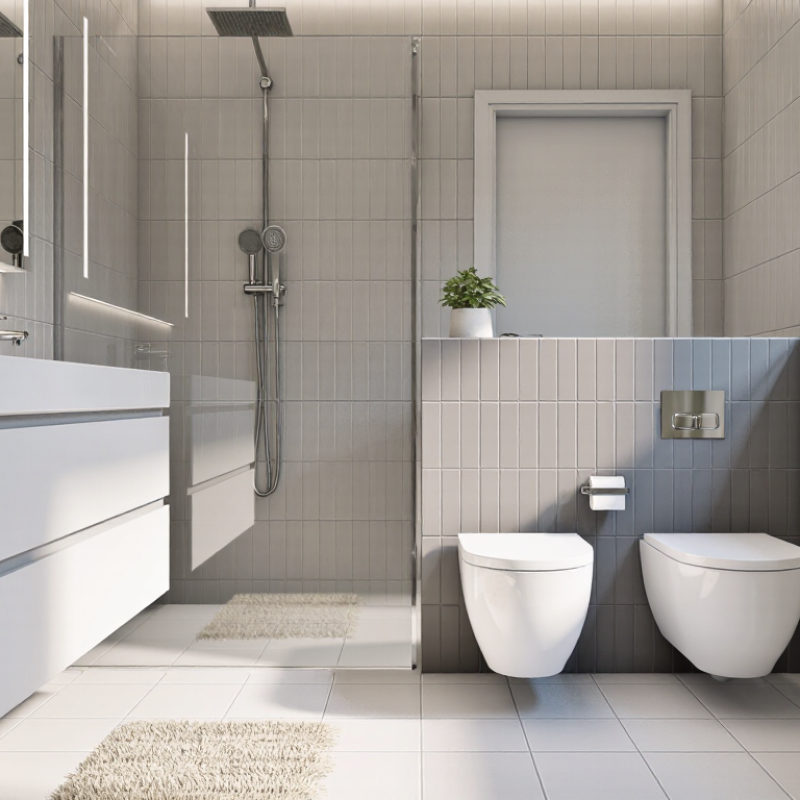
7 Tips for Buying a Wall Hanging Toilet

Understanding How Wall-Hanging Toilets Work

A wall-hanging toilet is supported by a steel carrier hidden inside the wall, not by the visible bowl. The carrier transfers the user’s weight to the floor. A concealed tank sends water through a flush pipe when the wall plate is pressed. The bowl then directs waste into the drain behind the wall.

This design creates a clean, floating appearance and makes floor cleaning easier. It can also reduce flushing noise because the tank sits inside the wall. However, the wall must have enough depth for the carrier, tank, pipes, and service opening. Check the rough-in measurements before buying. A beautiful toilet is useless if its drain connection does not match your bathroom.

Look for a strong, tested carrier and an accessible flush plate. The plate should allow basic valve maintenance without opening the wall. Adjustable bowl height is helpful for children, older adults, and taller users. Consider dual-flush controls, water pressure, and the local drainage layout. I would not assume every wall can support this system. An installer should inspect the structure first.

The hidden parts deserve attention. If a seal fails, repairs may become inconvenient. Ask how replacement parts are obtained and whether the flush mechanism is easy to remove. Measure carefully. One small error can turn a simple installation into expensive wall work.
Measuring Your Bathroom for a Suitable Installation

7 Tips for Buying a Wall Hanging Toilet

Tip 1: Measure the finished bathroom, not just the bare room. Mark the toilet’s centerline from the nearest side wall. Record the distance from the rear wall to the doorway, cabinet, and sink. A wall-hung toilet saves floor space, but its concealed carrier still needs room inside the wall.

Tip 2: Check the plumbing rough-in before choosing a model. Measure the waste pipe position, water supply route, and available wall depth. Include tile, adhesive, waterproofing, and backing boards in your calculation. These layers can reduce usable space by several centimeters. A small error here can affect the bowl height and flush connection.

Tip 3: Confirm the finished seat height with everyone using the bathroom. Mark a temporary height on the wall and sit against a stable surface. This simple test often reveals comfort issues that drawings miss. Also measure the bowl projection from the finished wall. Keep enough clearance for knees, doors, and nearby fixtures.

Tip 4: Inspect the wall structure and service access. The carrier must connect securely to suitable framing or approved reinforcement. Leave access for the flush mechanism, even when the wall looks perfectly sealed. I once underestimated tile thickness, and the planned access panel became awkward. Measuring twice would have prevented that mistake.

Tip 5: Compare the installation instructions with local plumbing requirements. Experienced installers check pipe gradients, fixing points, and maintenance access before ordering materials. Do not rely on a product sketch alone. Real bathrooms rarely match perfect diagrams. Note every measurement, including floor level changes and uneven walls, before purchasing the toilet.

7 Tips for Buying a Wall-Hanging Toilet: Bathroom Measurement Guide

Use these common planning measurements to check whether your bathroom can accommodate a wall-hanging toilet. Dimensions are shown in centimeters and should be verified against local building codes and the selected installation system.

Measure from the finished wall and finished floor, not from unfinished framing. Confirm the toilet’s projection, required carrier depth, rough-in position, side clearance, and front clearance before purchasing.

Comparing Wall-Hung Toilet Frames and Support Systems

A wall-hung toilet depends on more than the ceramic bowl. The concealed frame carries the load, controls height, and protects the plumbing inside the wall. Compare the frame and support system separately.

When I inspect a frame, I check its steel thickness, welding quality, adjustable feet, and fixing points. A broad base usually transfers weight more evenly to the floor. Thin steel is not always weaker. However, unclear specifications deserve caution. Check the tested load rating and installation instructions before buying.

Measure the wall cavity carefully. Some frames suit standard stud walls, while others need masonry or reinforced backing. That difference can change labor costs. Adjustable brackets help when floor levels are uneven. They also make the final seat height easier to set. Do not ignore the flush tank and service opening. A reliable support system should allow valve access without removing tiles. It should also connect cleanly with common waste pipe sizes.

I once underestimated the depth of a concealed tank. The finished wall felt cramped. That mistake taught me to draw the complete assembly before installation. Ask whether replacement parts remain accessible and whether the installer follows local plumbing requirements. A low purchase price can hide difficult repairs. Review the warranty terms, load testing, corrosion protection, and installer experience. The frame is behind the wall, but its quality affects every future service visit.

Evaluating Flush Performance, Materials, and Water Use

7 Tips for Buying a Wall Hanging Toilet

Tip 1: Test the flush rating, not just the showroom appearance. A strong flush should clear waste without repeated activation. Ask for performance data from recognized testing standards.

Tip 2: Check the bowl’s water flow pattern. Water should reach the front and sides evenly. Weak coverage can leave marks.

Tip 3: Consider the trapway size. A wider, smoothly shaped passage may reduce clogging, although installation quality still matters.

Tip 4: Inspect the ceramic surface under bright light. It should feel smooth, dense, and free from pinholes. Small defects can collect dirt over time.

Tip 5: Examine the concealed frame and fasteners. Corrosion-resistant metal is important in a humid bathroom. I have seen attractive toilets fail because the supporting structure was treated as an afterthought. That mistake is expensive.

Tip 6: Compare water use per flush. Lower volume is useful, but not if it requires two flushes. A practical choice balances water savings with reliable waste removal.

Tip 7: Confirm access for future maintenance. Wall-hung toilets hide the tank, valves, and connections behind the wall. The service opening should be large enough for inspection and repairs. Ask how the flush valve can be replaced before installation. Also check local plumbing requirements and have a qualified installer verify the wall structure. I would not rely on appearance alone. Some models look efficient, yet their real performance depends heavily on water pressure, pipe layout, and careful adjustment.

Planning Installation, Maintenance, and Long-Term Costs

Planning matters more than appearance when buying a wall hanging toilet. Measure the wall cavity, drain position, water line, and finished floor height. Tip one: confirm that the carrier frame fits your wall. Tip two: check whether the wall can support the frame and toilet safely. A qualified plumber should verify local installation requirements before work begins. This small inspection can prevent expensive demolition later.

Tip three: choose a concealed cistern with a large service opening. Tip four: plan the access panel before tiling, not after. Tip five: request a written installation estimate covering framing, plumbing, waterproofing, tiles, and labor. Hidden plumbing can increase costs quickly. Pressure testing should happen before the wall is closed. I once underestimated tile removal costs. That mistake still bothers me.

Maintenance affects long-term value. Tip six: use a flush system with replaceable seals and valves that remain available for years. Every few months, check for weak flushing, running water, dampness, or unusual sounds. Clean the bowl with a non-abrasive product, and avoid forcing the flush plate. Tip seven: calculate future expenses, including water use, replacement parts, access repairs, and professional servicing. A slightly higher purchase price may be sensible if internal components are durable and easy to reach. Yet no fixture is maintenance-free. A sealed wall can hide a small leak until stains appear on the floor below.

7 Tips for Buying a Wall Hanging Toilet - Planning Installation, Maintenance, and Long-Term Costs
Buying Consideration Recommended Planning Data Typical Cost or Requirement Why It Matters
1. Measure the Bathroom Allow approximately 76 cm of clear width and at least 53 cm of clear space in front of the toilet. Check local accessibility rules if required. Measurement is usually free; moving walls or plumbing can add substantial remodeling costs. A wall-hanging toilet saves floor space, but the concealed tank and frame still require adequate wall depth and service access.
2. Verify the Wall Structure Use a purpose-built carrier frame secured to structural studs or masonry. A typical completed seat height is about 41–48 cm from the finished floor. A carrier frame and concealed cistern commonly cost about $350–$900 before labor. The finished wall surface alone is not designed to support the toilet. Correct structural support helps prevent movement, leaks, and tile damage.
3. Plan Water and Drain Connections Confirm the waste outlet location, water supply route, access panel, and compatibility with the existing drain size and layout. Plumbing changes may add approximately $300–$1,500, depending on access and local labor rates. Concealed plumbing is difficult to alter after the wall is closed, so rough-in dimensions should be confirmed before installation.
4. Compare Flush Performance Look for a certified flush volume of 1.28 gallons per flush or less where water efficiency is a priority, while checking the model's performance rating. Efficient models generally use about 4.8–6.0 liters per flush. Lower water use can reduce household consumption, but dependable bowl clearance and a suitable flush system are equally important.
5. Budget the Complete Installation Include the bowl, seat, carrier frame, concealed cistern, wall reinforcement, plumbing, finishing work, and professional installation. A complete installation often falls near $1,200–$3,500, with renovation complexity causing the largest variation. The visible bowl is only part of the system. Comparing the total installed cost prevents an unrealistically low project budget.
6. Check Maintenance Access Make sure the flush plate or designated service opening permits access to the fill valve, flush valve, and water shutoff. Routine cleaning supplies are typically under $50 per year; internal valve replacement may cost about $100–$300 with labor. Most routine service should be possible without removing tile or opening the finished wall.
7. Estimate Long-Term Costs Review water use, replacement parts, seat durability, warranty terms, cleaning time, and the expected service life of accessible components. Set aside roughly 1%–3% of the initial installation cost annually for cleaning, minor repairs, and replacement parts. A higher initial price may be worthwhile when the toilet reduces floor-cleaning effort, uses less water, and keeps service components accessible.